Headstock Repair
This page shows a headstock
repair. Ishow how to do this with the most basic of tools
(well, mostly). This break was on a neck which is going to
be used for a pickup testing guitar. It's nothing great, and
I wont do a wonderful finish on it, but a repair is a repair
so,........
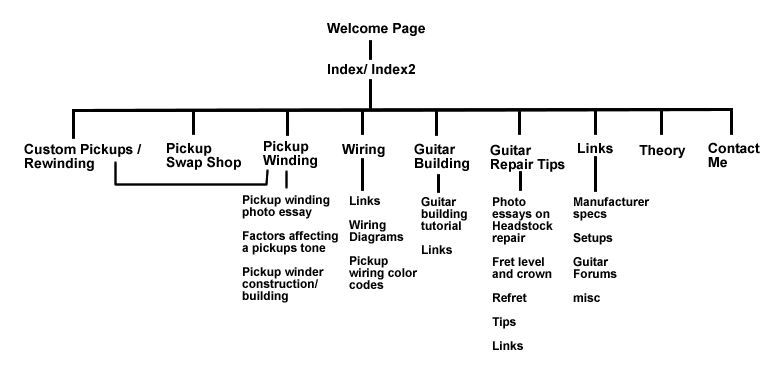
This is a picture of the break.
The rest of the headstock is missing. Because I don't have
the missing piece, and because there are actually multiple
breaks (there are cracks which do not show in this picture)
I will make a new piece. Also because it's a pointy headstock,
I will reshape the entire thing. The first thing I must do
is trim off all of the broken section.
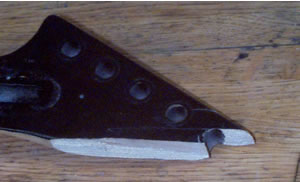
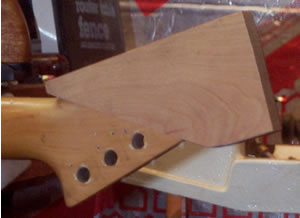
This is the headstock after
trimming. The cut is very rough and not straight. I left extra
wood to allow for cleaning up the cut, Later there will be
no sign of that last tuner hole. The next task is finding
a suitable piece of wood for the repair. I selected a piece
of cherry because I had a suitable scrap around. The first
operation was to thickness the board, leaving it slightly
thick.

This picture shows the board
being thicknessed with a hand plane. it took about 5 minutes
to remove almost 1/4", and then clean it up. After the
board was thicknessed I then trimmed it so the grain would
follow more suitably. The cut was just as ugly as the first.
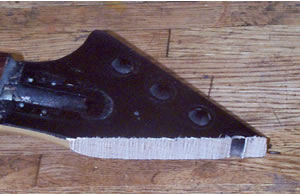
Now the joining faces need to be matched. to do this the boards
are "booked" (means set joining faces together and
then fold the one piece to the side so the faces to be joined
are together). I clamped the booked pieces in the vice and
trimmed them again with the hand plane. It took less than
ten minutes to get it right.
This picture shows the pieces
booked in the vice.
This picture shows the pieces
after the trimming with the handplane. To get a fit like this
it is important to check across the two pieces while trimming
to ensure they are flat across. It doesn't matter what the
angle is, because when unbooked the angles will add up to
180 degrees making the repair flat. Next is the glue up. At
this point I used a bisket joiner to reinforce the seam. This
could also be done with a router and a spline (cut slots across
the faces after glueup, square the ends of the slots w/ the
appropriate chisel and insert splines. This would be the method
I would use if the break wasn't complete, and I had both pieces)
It would have been ok without using any reinforcement because
this repair fits tightly together and is primarily along edge
grain,

This picture
shows the pieces glued and clamped . Because the faces were
angled relative to the clamping surfaces, the pieces wanted
to slide out of place, The bar clamp at the top of the picture
was used to keep the pieces in place, it isn't really "clamping".
It is not necesary to use alot of pressure with the clamps.
Allow plenty of time to cure as per the directions on the
glue bottle.
The
rest of the story....